Artistic Craftsmanship
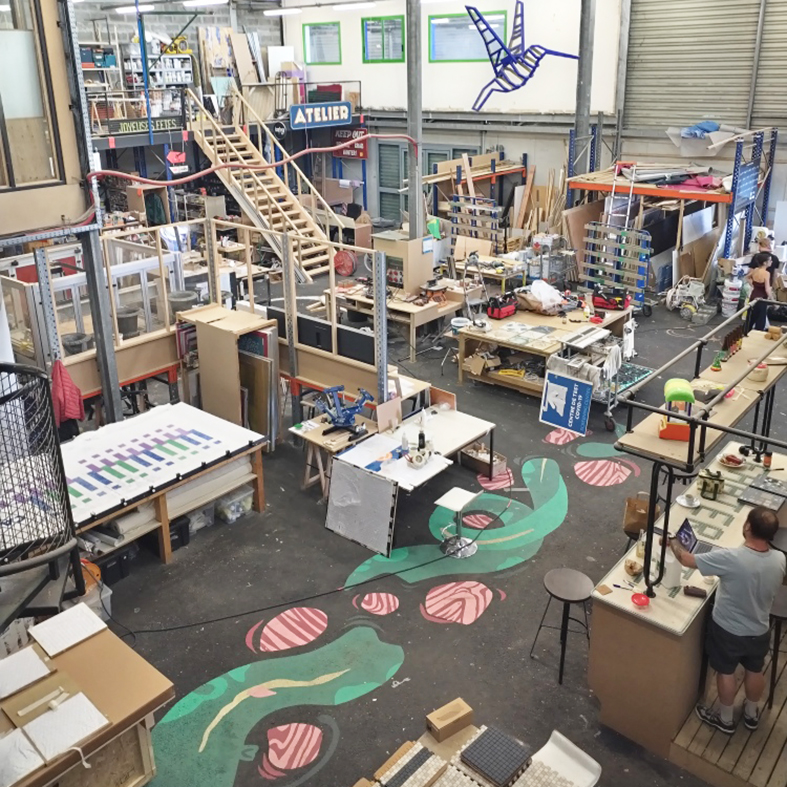
This year, I wanted to learn more about screen printing, this time on textiles, under the guidance of Clémence Régnier, having previously experimented with it on paper at Antonin + Margaux, and then with Pierre from Atelier Parades.
The course began with an introduction to the various textile printing techniques and types of fibres. Screen printing, which emerged between the two world wars, remains one of the most accessible methods for creating prototypes or small artisanal runs. It differs from sublimation (suitable for synthetic fibres), flex/flock (more decorative) and digital printing (more water-efficient but costly to maintain). What particularly appealed to me about screen printing is precisely the possibility of working with natural fibres and achieving a rich, sophisticated and, above all, artisanal finish!
Patterns & colours
For this workshop, I prepared two separate projects in advance.
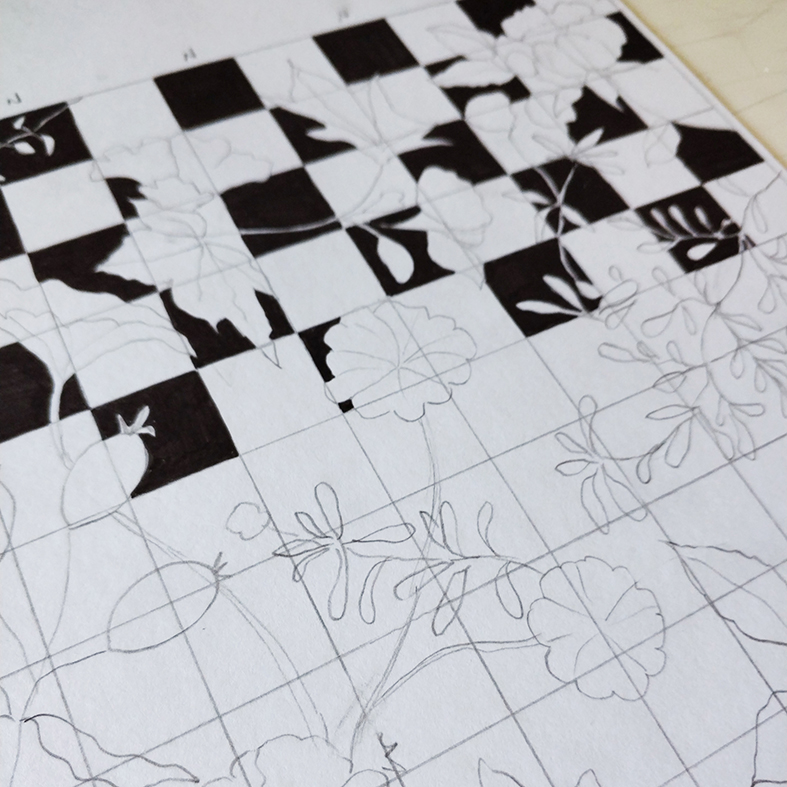
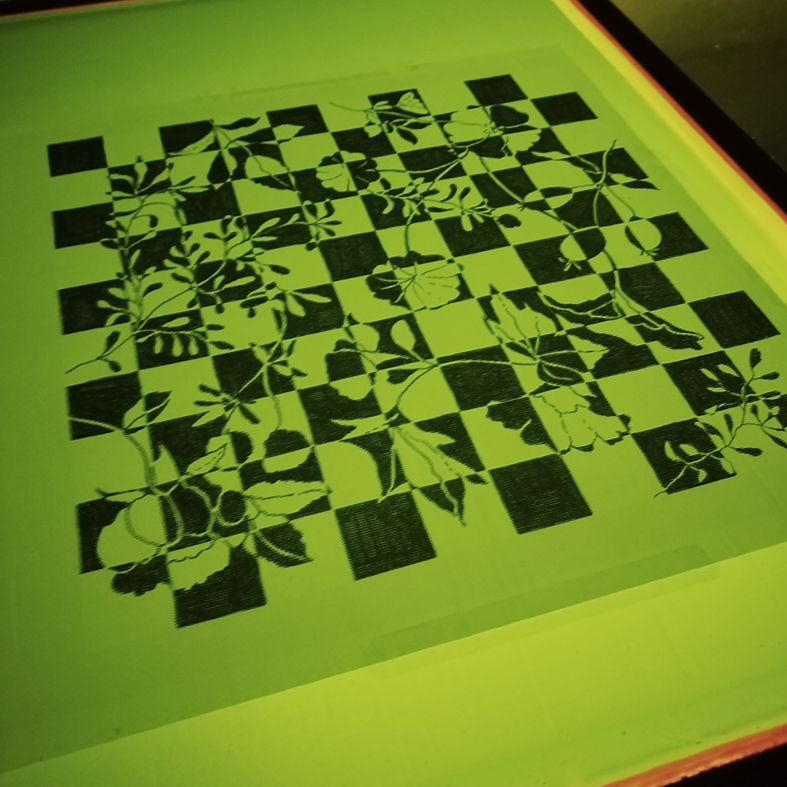
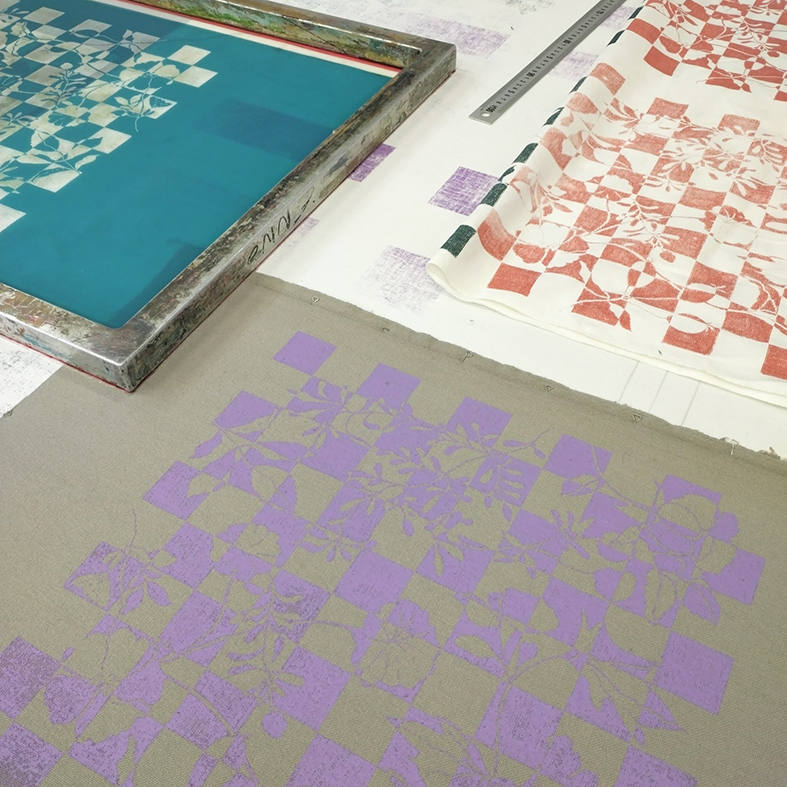
For the single-colour pattern, I drew a floral checkerboard design by hand using a fine-tip marker and then scanned it. Before printing, I prepared this design in Photoshop: as a bitmap (black and white, output at 150 dpi) to ensure sharp, usable outlines for the exposure. I also thickened certain lines that were too fine (< 1 pixel) to ensure they would print clearly.
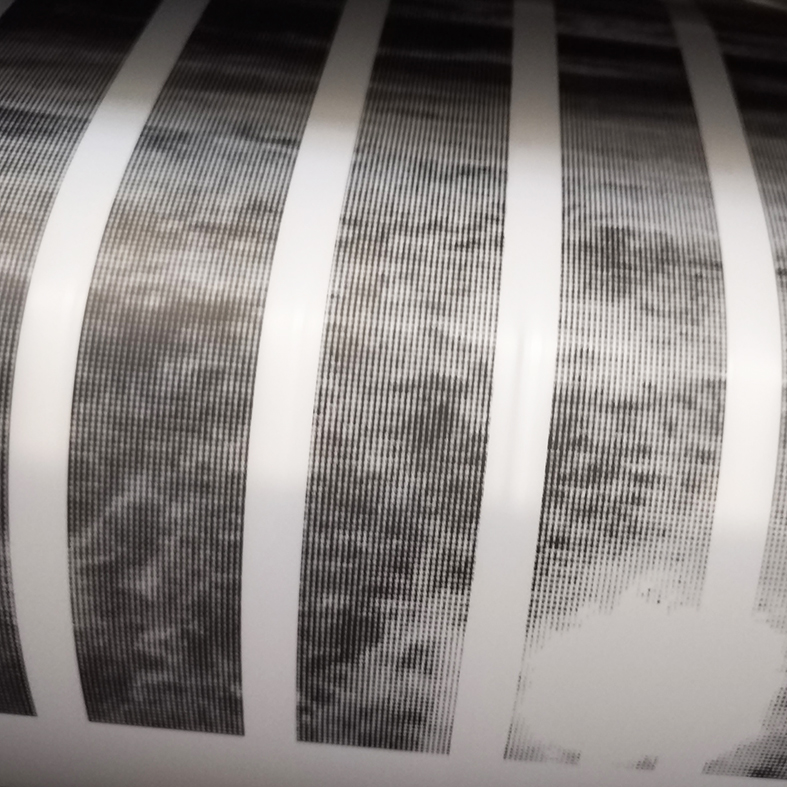
For the three-colour design, I chose a photo taken by the sea. After converting it to greyscale in Photoshop, I then converted it into halftone screens. You need to create a separate layer for each colour and add registration marks so that the plates can be aligned correctly. For this project, I therefore created three layers: one for the transparent pink ink, one for the opaque silver ink, and one for the black halftone screen. The line count, which corresponds to the number of dots per inch, was determined by the mesh size used: for a 77-mesh screen, I worked with a line count of 25.
The mesh size of the screen does indeed play a key role: the tighter the mesh, the less ink passes through. I used a 54-mesh screen for the first design (ideal for solid colours), and a 77-mesh screen for the second, which required greater precision due to its intricate pattern. The next one on silk will require a 90-mesh screen – watch this space…
From the workshop to the finished products!
Once the stencils were ready, we exposed the frames, then rinsed and dried the screens before moving on to textile printing.
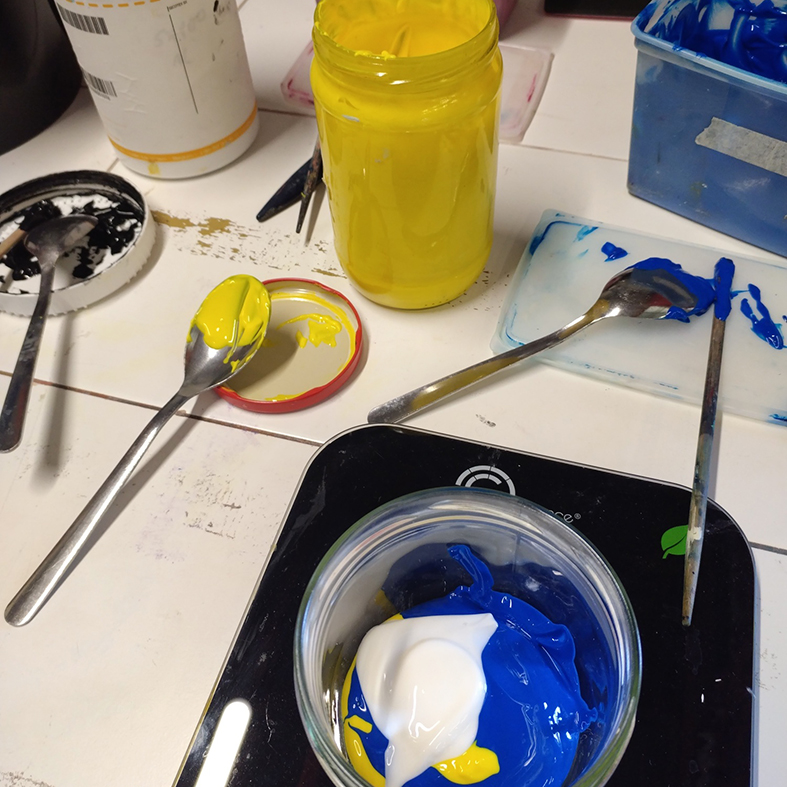
At the same time, like lab technicians, we tested our colours down to the last gram to achieve the desired shade…
Using a squeegee, the ink is applied through the mesh – a seemingly simple process that nevertheless requires precision and consistency. Once the ink has dried and the colours have been heat-set, the designs emerge in all their vibrancy.
I then used my printed fabrics to make 40×40 cm cushions, finished with silver piping. It was a lovely way to bring my designs to life and turn a workshop experience into everyday objects.
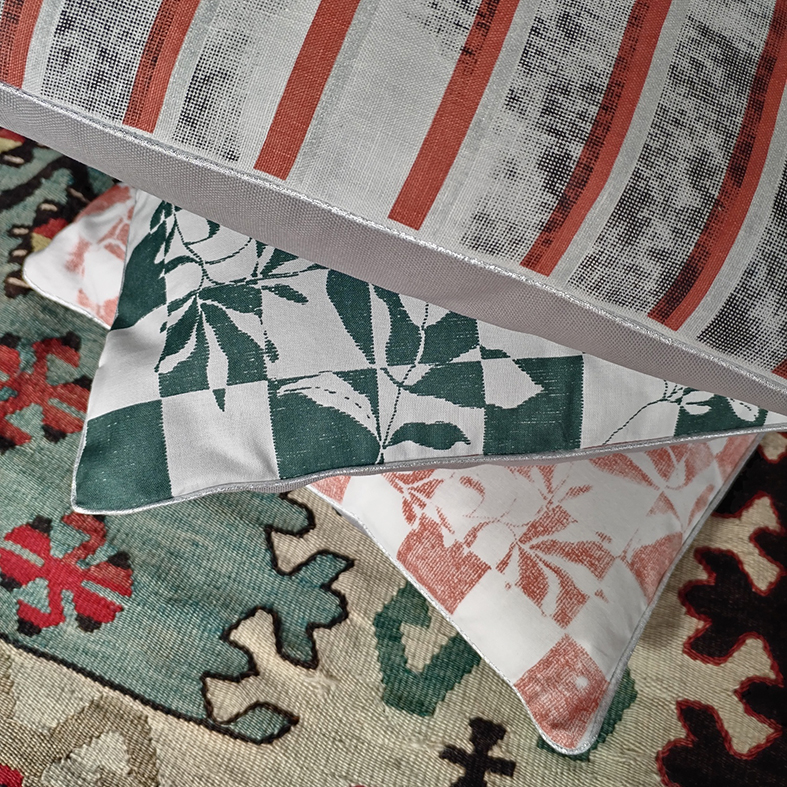
This new experience has given me an even deeper understanding of the connections between design, technique and materials. Screen printing requires patience and meticulous preparation, but in return offers immense creative freedom and a unique quality, at the intersection of art and craftsmanship!