1. Painting on the Mesh
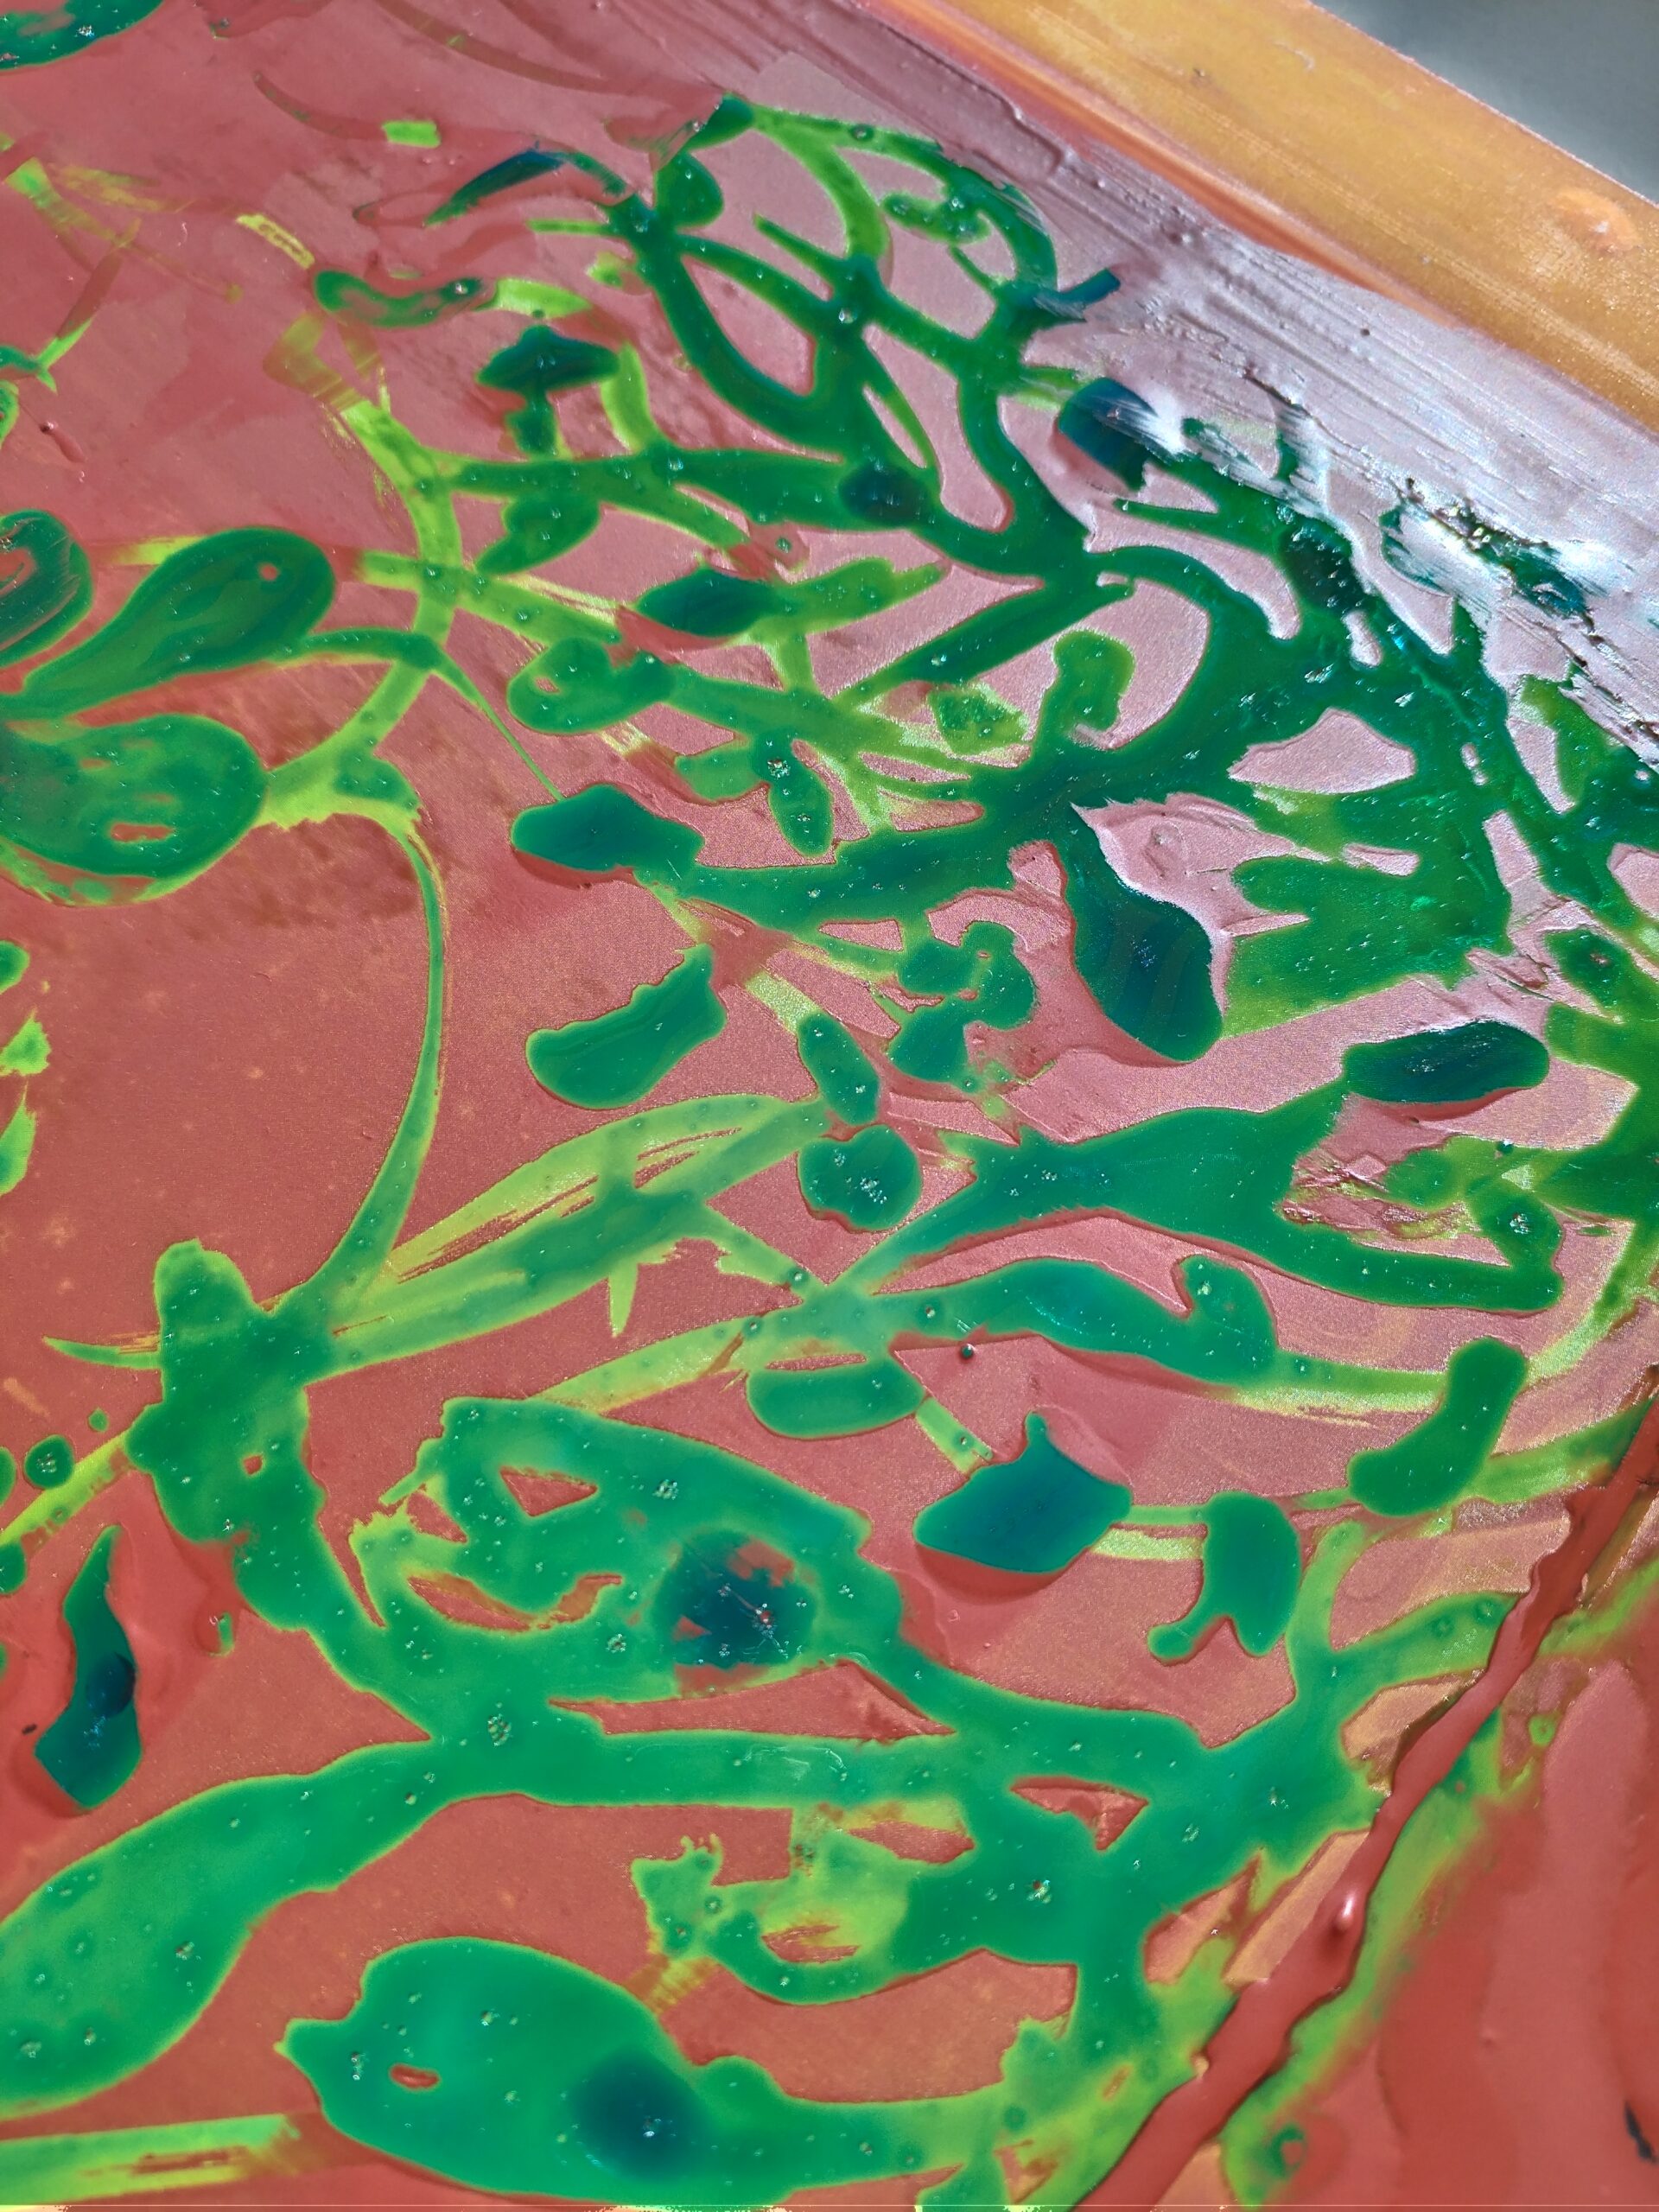
It all starts with the drawing! Using fine or broader brushes, I apply the drawing fluid directly to the mesh to create my design. Once the drawing is complete, I let it dry thoroughly.
Next, I apply the screen filler using a squeegee to block out the areas around the design. Once dry, the screen is ready for the next step.
2. Revealing the Design
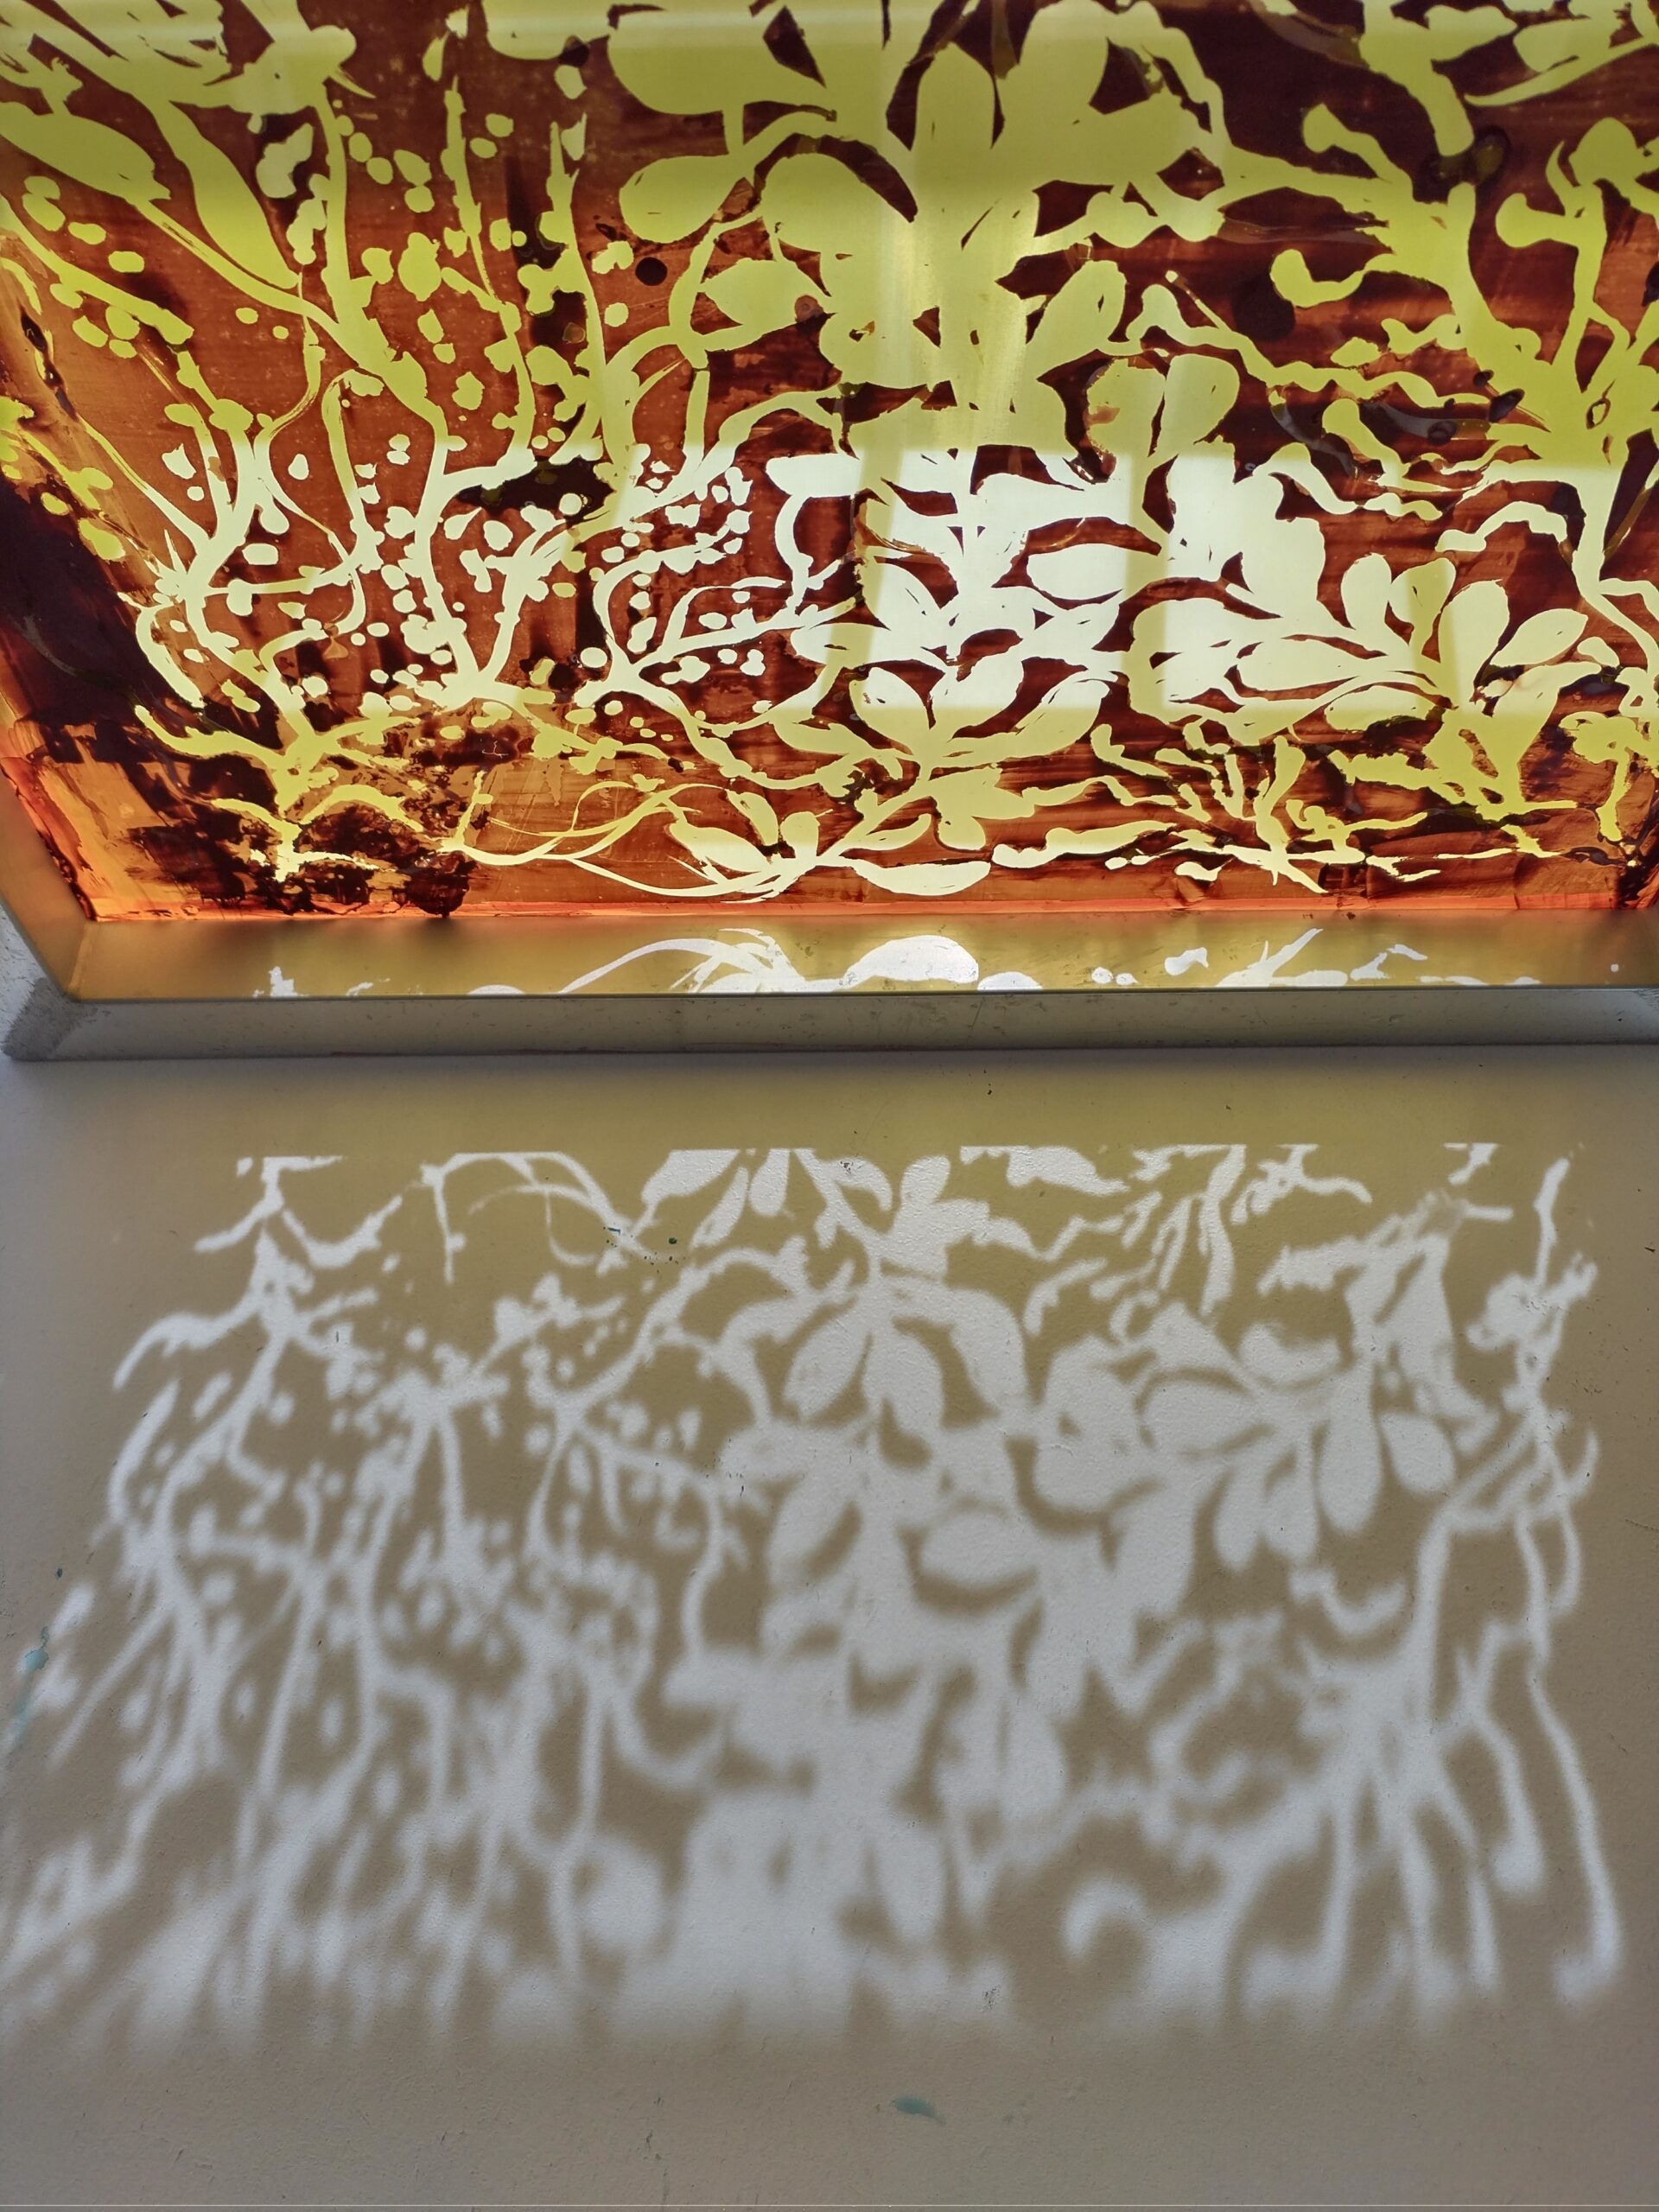
Time to rinse! The water dissolves the drawing fluid, opening up the areas where the design was drawn, while the screen filler remains in place across the rest of the mesh. After one final drying session, the screen is ready to print, without the need for any exposure.
3. Printing Time
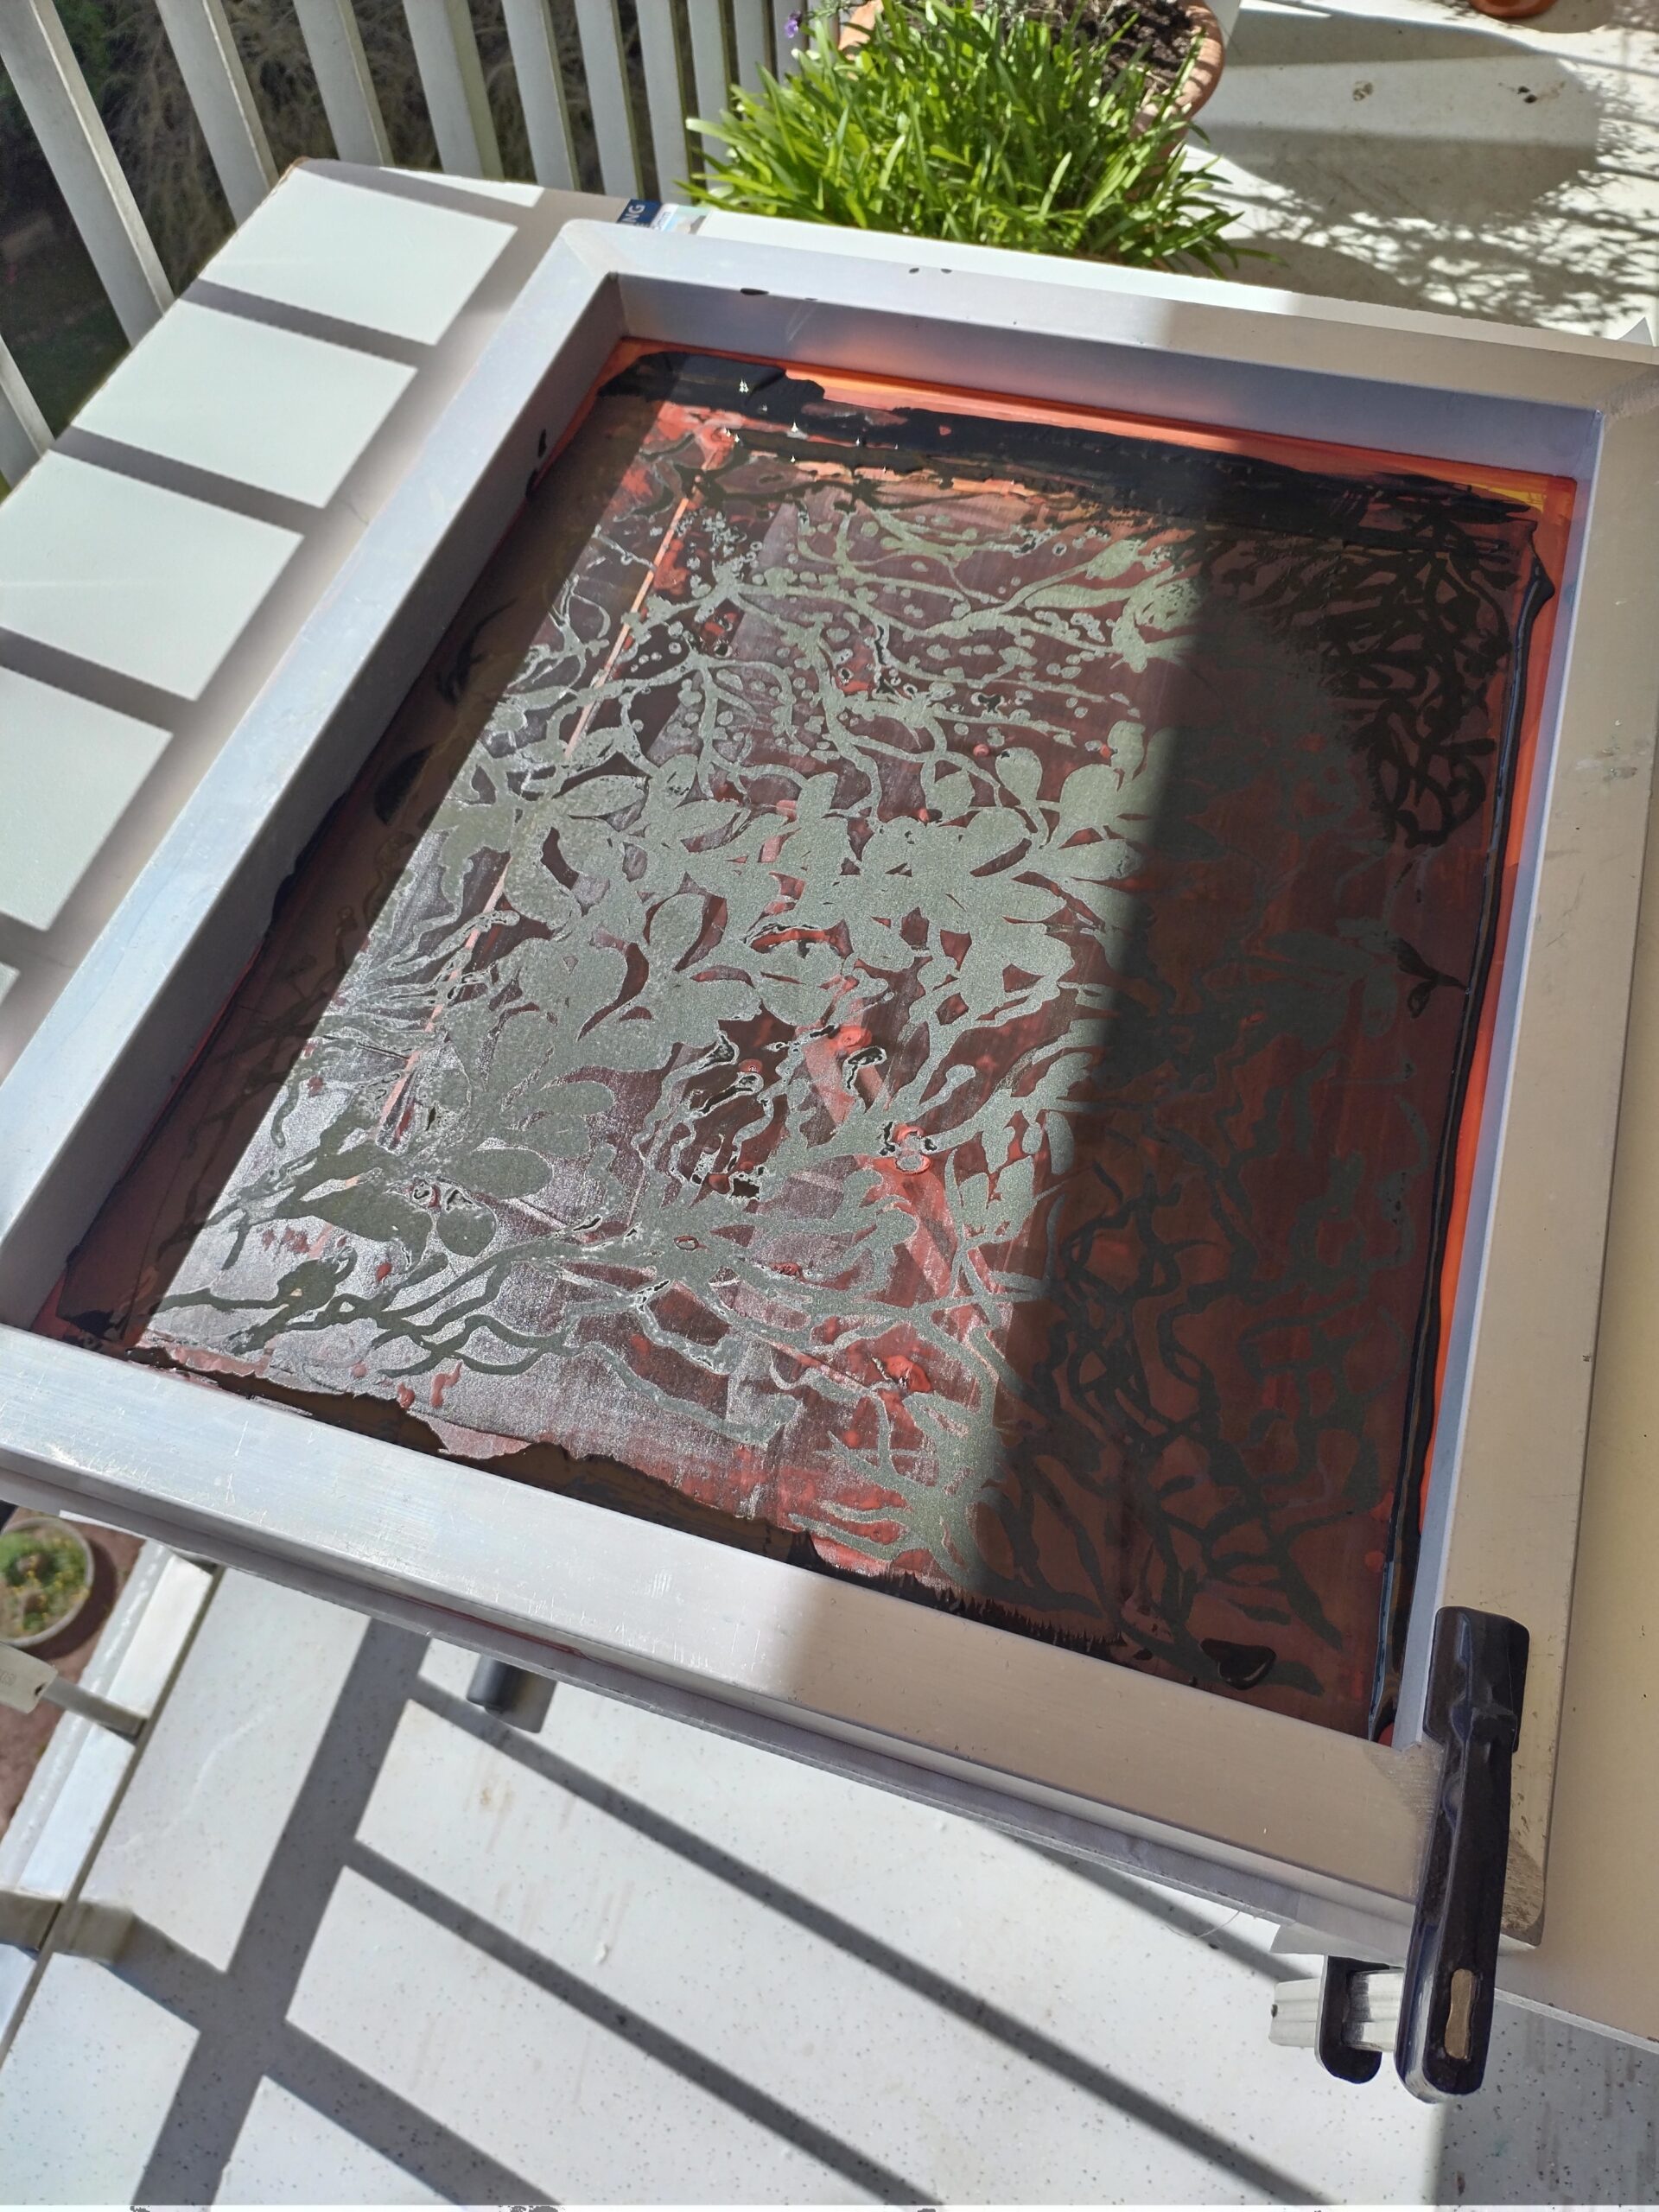
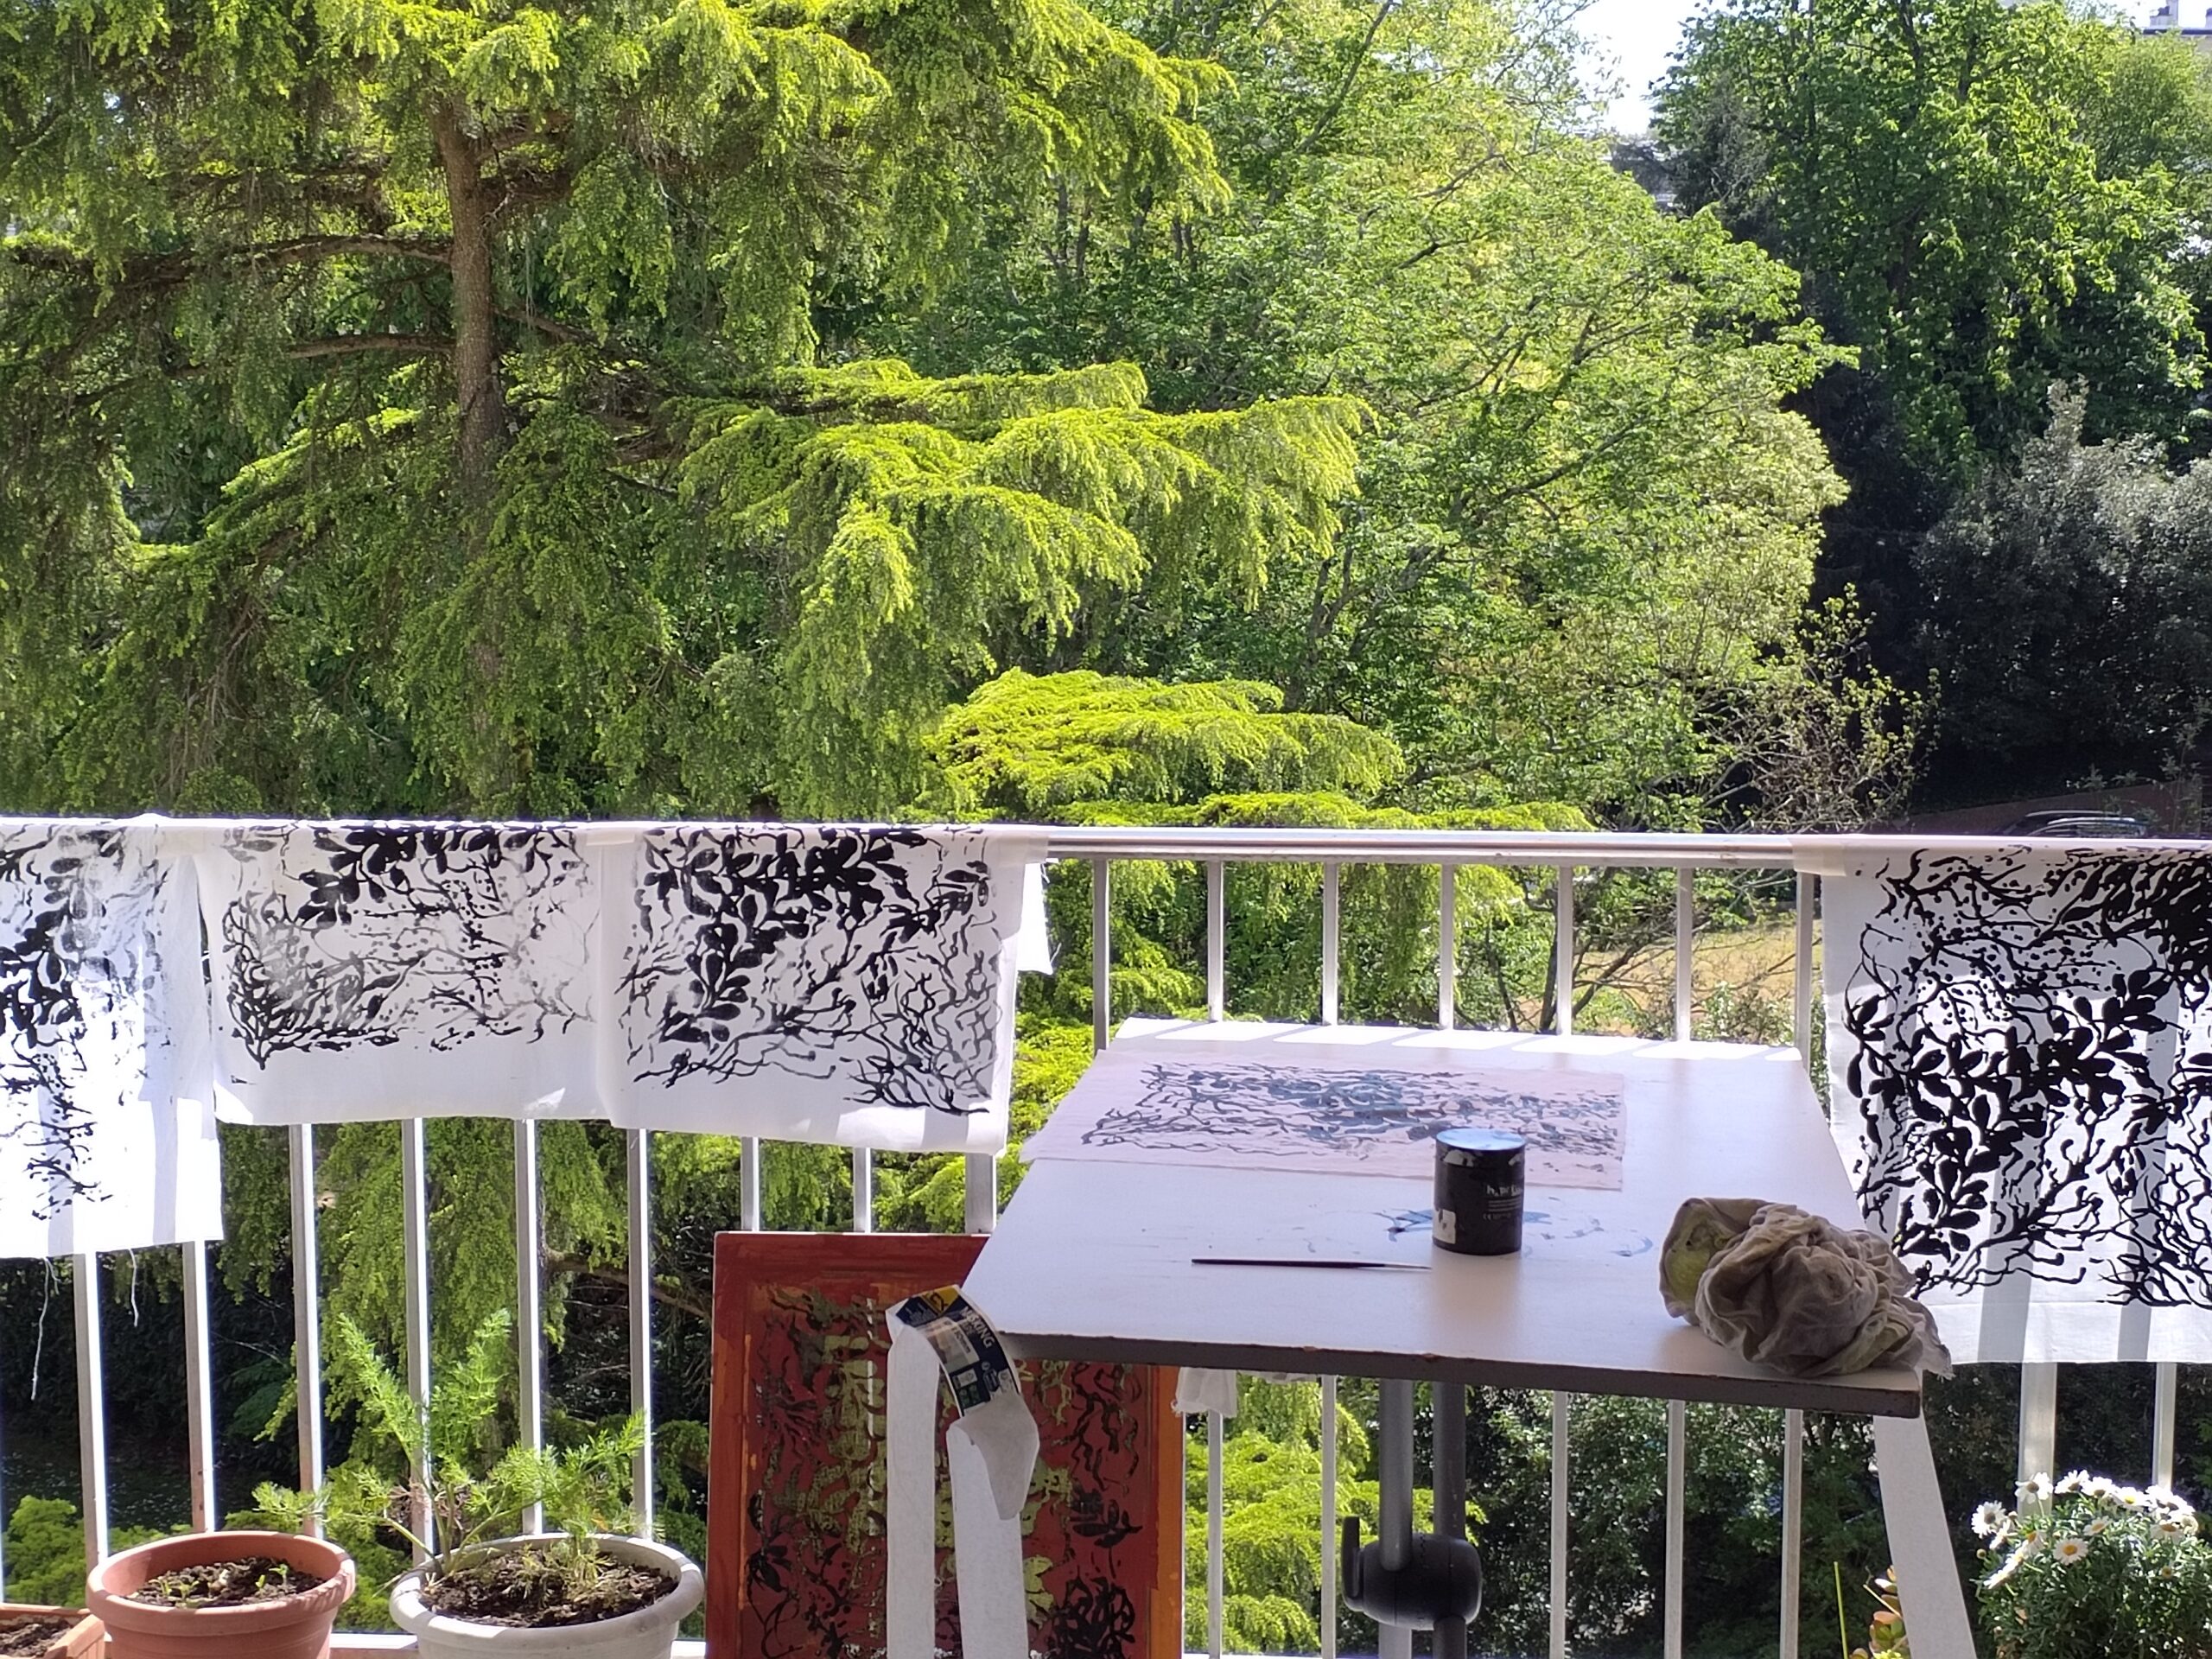
I place a little ink on the screen, then pull it across the mesh with a squeegee, applying even pressure. All that’s left is to lift the frame and reveal the result! The first prints help me fine-tune my technique, adjust the amount of ink, and experiment with different papers and colours.
Experiment, Observe, Repeat
Screen printing requires a little patience and a few attempts, but that’s also what makes it so interesting: every print holds a little surprise. It’s a lovely way to explore drawing through a different medium and let creativity breathe some fresh air!
P.S. I bought my frame secondhand on Leboncoin and used these products (this post is not sponsored): Drawing Fluid and Screen Filler.